The Art of DIY Nutritional Yeast: Elevate Plant-Based Cooking On a Budget
- Bryan Dennstedt
- Oct 8, 2025
- 3 min read

Updated: Feb 17
DIY Nutritional Yeast: The Secret to Fresh, Flavorful, and Affordable Plant Power
If you love plant-based food, you know “nooch.” That golden, nutty, cheesy sprinkle upgrades popcorn, pasta, and veggies—plus, it’s packed with B vitamins. But did you know you can make your own nutritional yeast at home? Let’s break down why it matters, how it works, and how easy it is to start.

Why Nutritional Yeast Deserves a Place in Every Plant-Based Kitchen
Nutritional yeast isn’t just a flavor booster. It’s a game-changer for nutrition and convenience. Those tiny flakes are a powerhouse of B vitamins, protein, and trace minerals (USDA FoodData Central). For vegans and vegetarians, it’s one of the simplest ways to add B12—an essential nutrient that can be tough to get from plants alone.
The flavor? Think savory, slightly cheesy, with a rich umami hit. It’s naturally gluten-free and usually allergen-friendly. Add it to sauces, soups, dips, and more for an instant upgrade. Store-bought is convenient, but making it yourself puts you in control—of the taste, the nutrients, and the cost.
The Science: From Simple Yeast to Golden Goodness
Let’s demystify how nutritional yeast is made. It starts with Saccharomyces cerevisiae, the same family of yeast used in baking and brewing. But unlike baker’s yeast, nutritional yeast is “deactivated.” This means it won’t make bread rise or ferment anything—it’s heat-treated so the cells die, leaving behind a safe, tasty, and shelf-stable product.
Here’s what happens: - **Culturing:** The yeast is grown on a nutrient-rich medium—often glucose from sugar beets or molasses. - **Fortifying (optional):** Producers can add B12 and other nutrients to boost its profile. - **Deactivation:** The yeast is heated, which stops any live activity. - **Drying and Flaking:** It’s washed, dried, and processed into flakes or powder.
That’s it. No magic, just smart, repeatable steps that turn a humble microbe into plant-based gold.
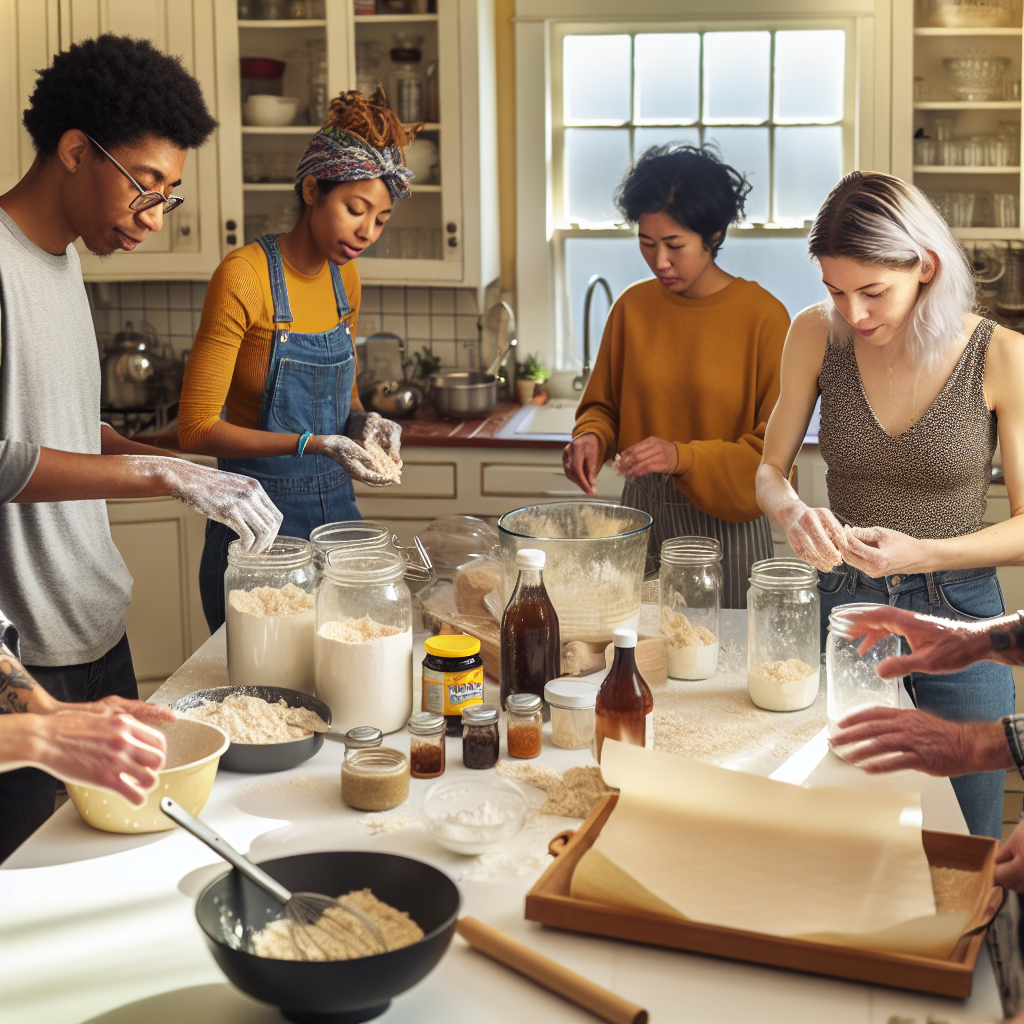
How to Make Your Own Nutritional Yeast: A Simple, Safe Guide
Ready to try it yourself? Here’s a step-by-step workflow. It’s straightforward, but a little patience is key.
### 1. Gather Your Supplies
- **Dried baker’s yeast** (buy it at any grocery store) - **A nutrient source:** Unflavored molasses or sugar works well - **Filtered water** - **A clean glass jar** - **A fine mesh strainer** - **Baking sheet and parchment paper** - **Oven or dehydrator**
### 2. Grow Your Yeast
1. Dissolve 1 tablespoon of sugar or molasses in 2 cups of warm, filtered water. 2. Add 1 tablespoon of dried baker’s yeast. Stir gently. 3. Cover the jar with a cloth and secure it with a rubber band. 4. Let it sit at room temperature (ideally 70–75°F) for 24–48 hours. Stir occasionally. It will bubble as it feeds.
### 3. Deactivate the Yeast
1. Pour the cultured yeast through a fine mesh strainer. Discard the liquid. 2. Spread the thick yeast paste onto a parchment-lined baking sheet. 3. Heat your oven to 200°F (or use a dehydrator). Bake for 1–2 hours until it’s completely dry and crumbly. This heat deactivates the yeast—making it safe and easy to digest.
### 4. Flake, Store, and Enjoy
1. Once cool, crumble the dried sheet into flakes or grind for a powder. 2. Store in an airtight jar, away from light and moisture. It’ll keep for a month or more.
*Note: Homemade nutritional yeast won’t contain B12 unless you add it (see below). For most, it’s a flavorful boost. If you rely on nooch for B12, keep using a fortified version or supplement as needed.*
Customize Your Batch: Make It Yours
This is where it gets fun. You can play with flavor and nutrition:
- **B12 boost:** Stir in a vegan B12 supplement powder before drying for a homemade fortified blend. - **Flavor twists:** Add garlic powder, onion powder, smoked paprika, or black pepper before baking. - **Umami upgrade:** Mix in a little miso paste (diluted with water) to the yeast culture for deeper flavor. - **Cheesy magic:** Nutritional yeast alone is nutty and savory, but you can boost cheesiness by adding cashew or almond flour to the flakes.
Systems make success repeatable, compassion makes it meaningful. When you craft nooch from scratch, you’re building both—a system you control and a deeper connection to the food that fuels you.
Why DIY Nooch? Connection, Confidence, and Community
Making your own nutritional yeast isn’t about perfection. It’s about understanding what goes into your food, feeling empowered, and sharing what you discover. When you experiment, you connect with your kitchen—and with others. Imagine a community potluck where you bring your homemade nooch and swap tips. Or share your tweaks online and inspire someone else to try.
Change compounds when we share what works and take the next step.
** Are you ready to try making nutritional yeast at home? Give it a go, share your results, and let’s keep building a plant-powered community—one golden flake at a time.